
LATEST ARTICLES

Tutorials · 8 min read
What is a webhook and how to use webhooks for real-time video management
Answer critical questions like what are webhooks, how they work, and how you can use them for video management.
api.video · September 12, 2024
Tutorials · 4 min read
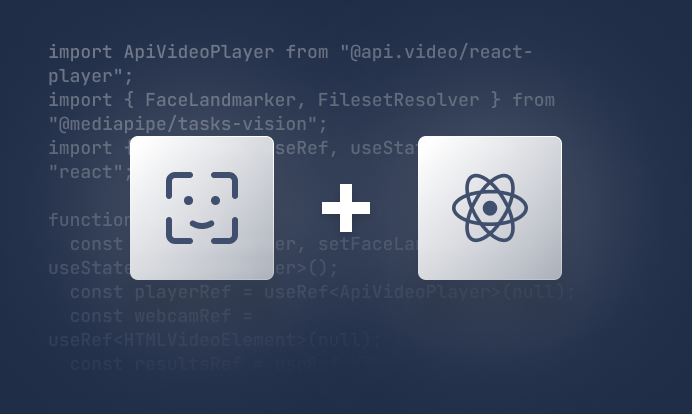
How to build AI facial expression detection into your videos with React
Learn how to add AI facial expression detection to your videos using one of Javascript's powerful libraries, React.
Yohann Martzolff · June 26, 2024
Tutorials · 4 min read
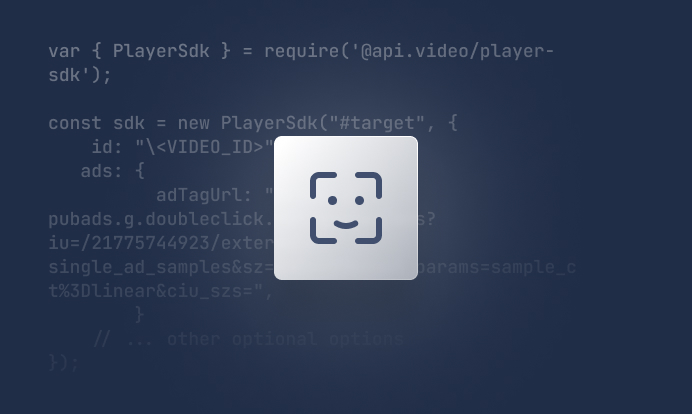
How to integrate AI facial expression detection to control your video – Javascript
Learn how to add AI facial expression detection to your videos using Javascript.
Yohann Martzolff · June 25, 2024

Tutorials · 4 min read
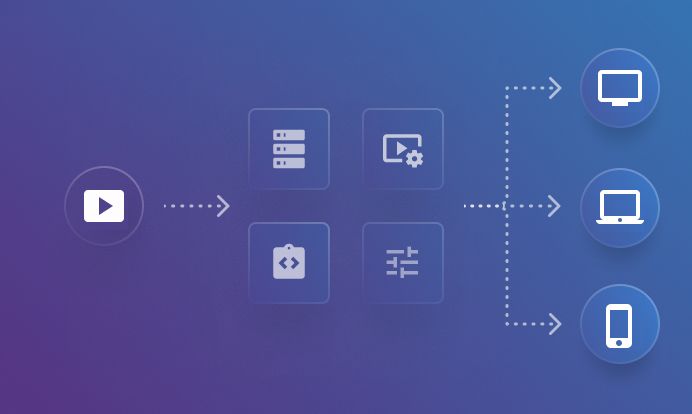
How api.video gives you the freedom to customize your video delivery
This article explores how api.video enables you to enhance your video delivery through features like custom domains, private videos, in-stream ads, and player customization.
Zoltán · May 8, 2024
Tutorials · 6 min read
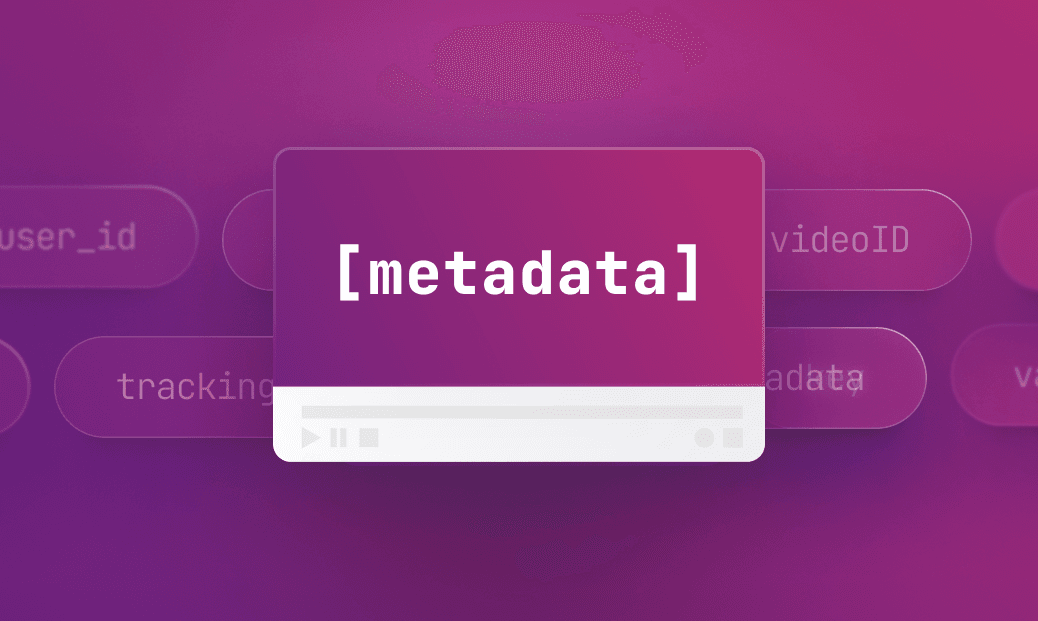
Video Metadata: Exploring advanced use cases and their benefits
Learn what is video metadata and how it finds application in various scenarios like e-learning or video sharing.
Zoltán · February 23, 2024
Tutorials · 8 min read
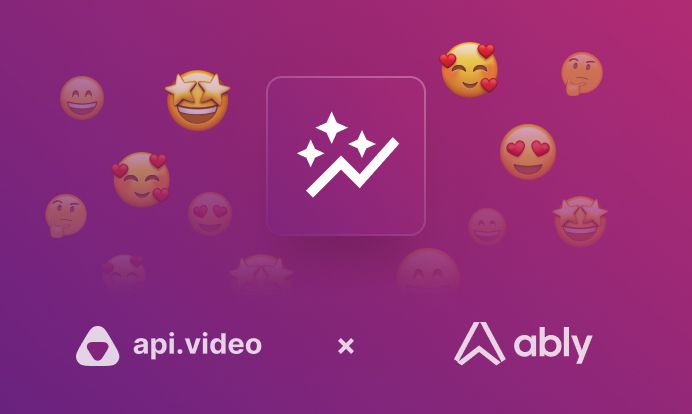
Boost your live streams with user engagement
Learn how to incorporate real time data into your livestream while keeping the users engaged.
Artem Matinian · May 31, 2023
Tutorials · 7 min read
Should I build my video infrastructure from scratch? Challenge accepted
You've decided to integrate a video feature into your app or create a video infrastructure on your own. Let's see what is needed and what are the challenges in order to get to the finish line.
Artem Matinian · May 17, 2023
Tutorials · 4 min read
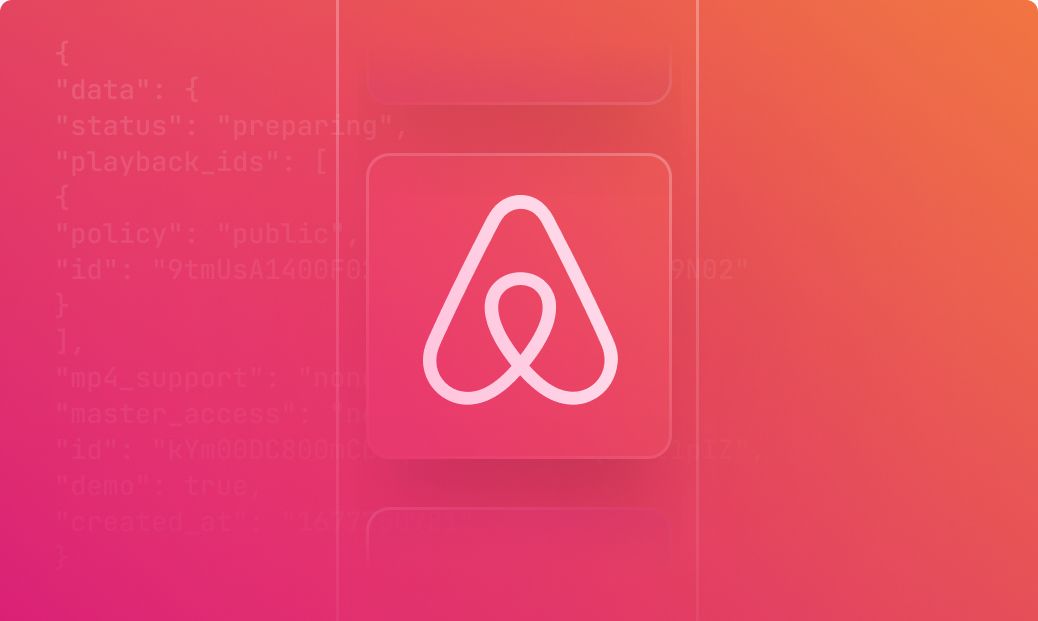
API showcase - build a service like Airbnb with api.video
Building a website like Airbnb? Let api.video enhance your platform with video upload and delivery functionalities. This blog post showcases the API endpoints that you can use to build a simple and robust solution that enables your users to upload and play videos for their customers.
Zoltán · December 27, 2023
Tutorials · 3 min read
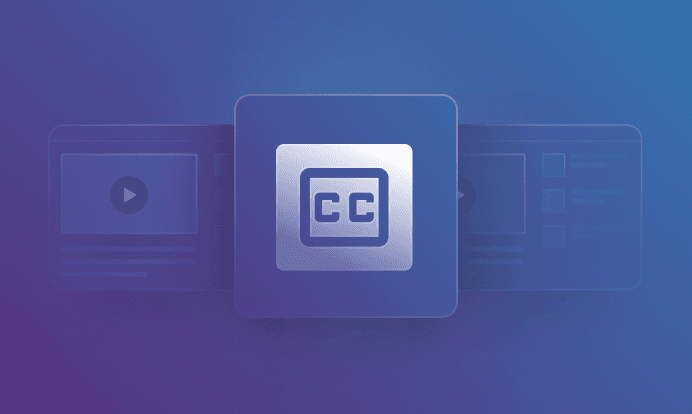
Lost in translation? Fill in the blanks with captions!
Unlock the full potential of your video content with api.video's user-friendly captioning feature. This guide introduces the seamless integration of captions into your videos hosted on api.video, utilizing the WebVTT format.
Zoltán · December 20, 2023
Tutorials · 7 min read
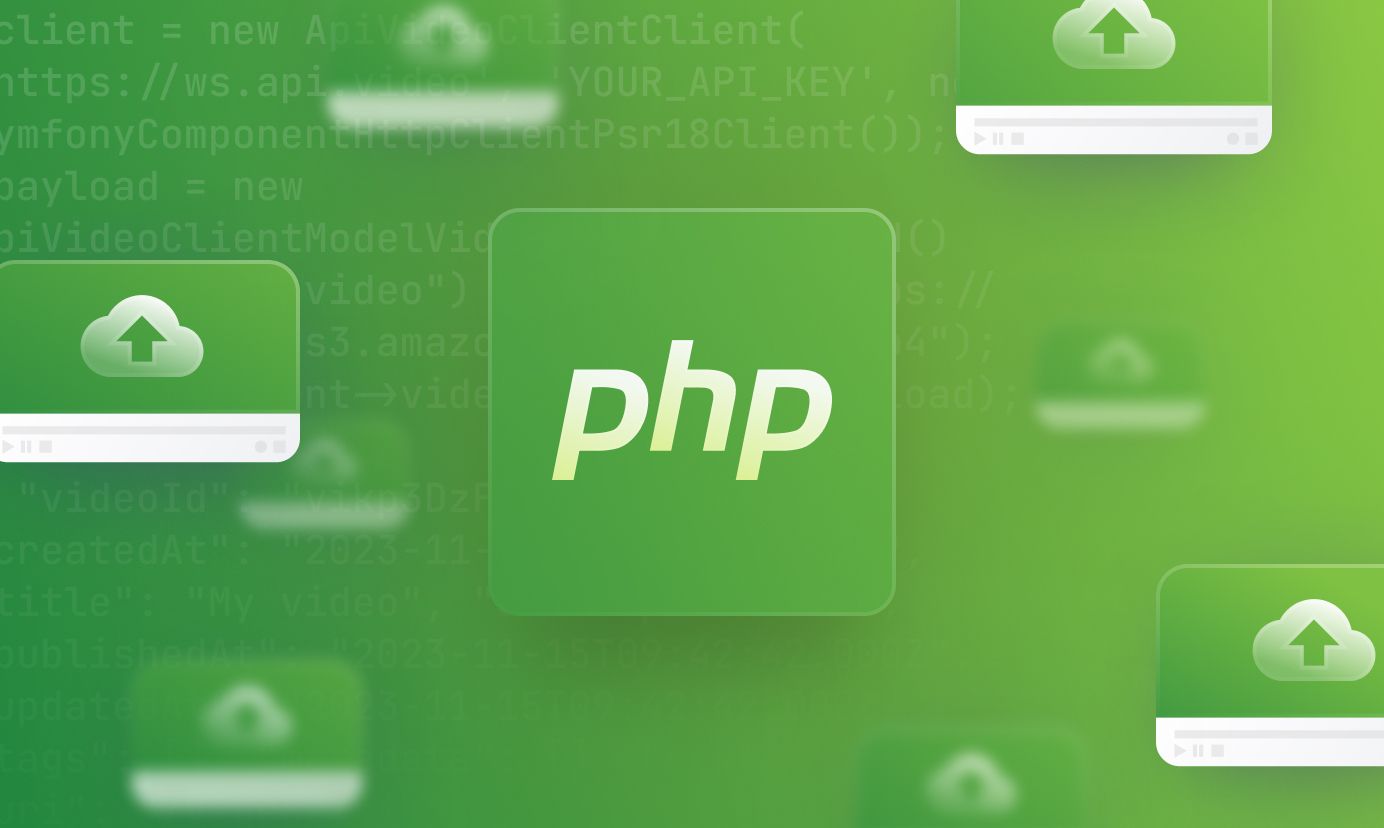
How to upload a video file in PHP
In this step by step guide, learn how to upload a video using PHP while making sure that users have a good experience as they upload and stream these videos.
Artem Matinian · November 28, 2023