Tutorials Β· 4 min read

How to upload a video with React and NodeJS

How to upload a video with React and NodeJS

Integrate an upload button in minutes in your React application with our new upload button package πŸš€

Yohann Martzolff

June 9, 2022

Uploading a video to api.video can be done in several ways:

  • API: make calls to get the mandatory information such as access token, create your fully customized video container, and finally upload your video file πŸ§‘β€πŸ’». It’s the most secure way to upload, but it requires a backend to hide sensitive data and several API calls. Even though it’s easy, customizable, and reliable, you may need a faster way to do this.
  • TypeScript uploader: api.video provides a TypeScript uploader that allows you to upload video directly to your workspace without calling the API. You can even choose between three upload methods 🀩! Don’t forget you still have to implement a UI for your uploader if it’s not already done!
  • React upload button: a few weeks ago, we quietly released the first version of our React upload button on NPM.js. This new package allows you to display a fully customizable button in your application in less than a minute! Today, we will see together how to get mandatory information from a Node backend to use this React component without exposing any sensitive data πŸ”’.

Prerequisites

  • React and NodeJS knowledge
  • For the simplicity of this example, we’ll use Next.js, a React framework that provides an already implemented Node server. Basic knowledge of it can help you go through this tutorial.

Remember that any Node backend will work to get information, as seen in this article.

Get started

You need an api.video account to work with our API and our packages.

Create a free one or log into yours just here.

1. Create a new Next.js application

From your command line, run one of the below commands:

bash

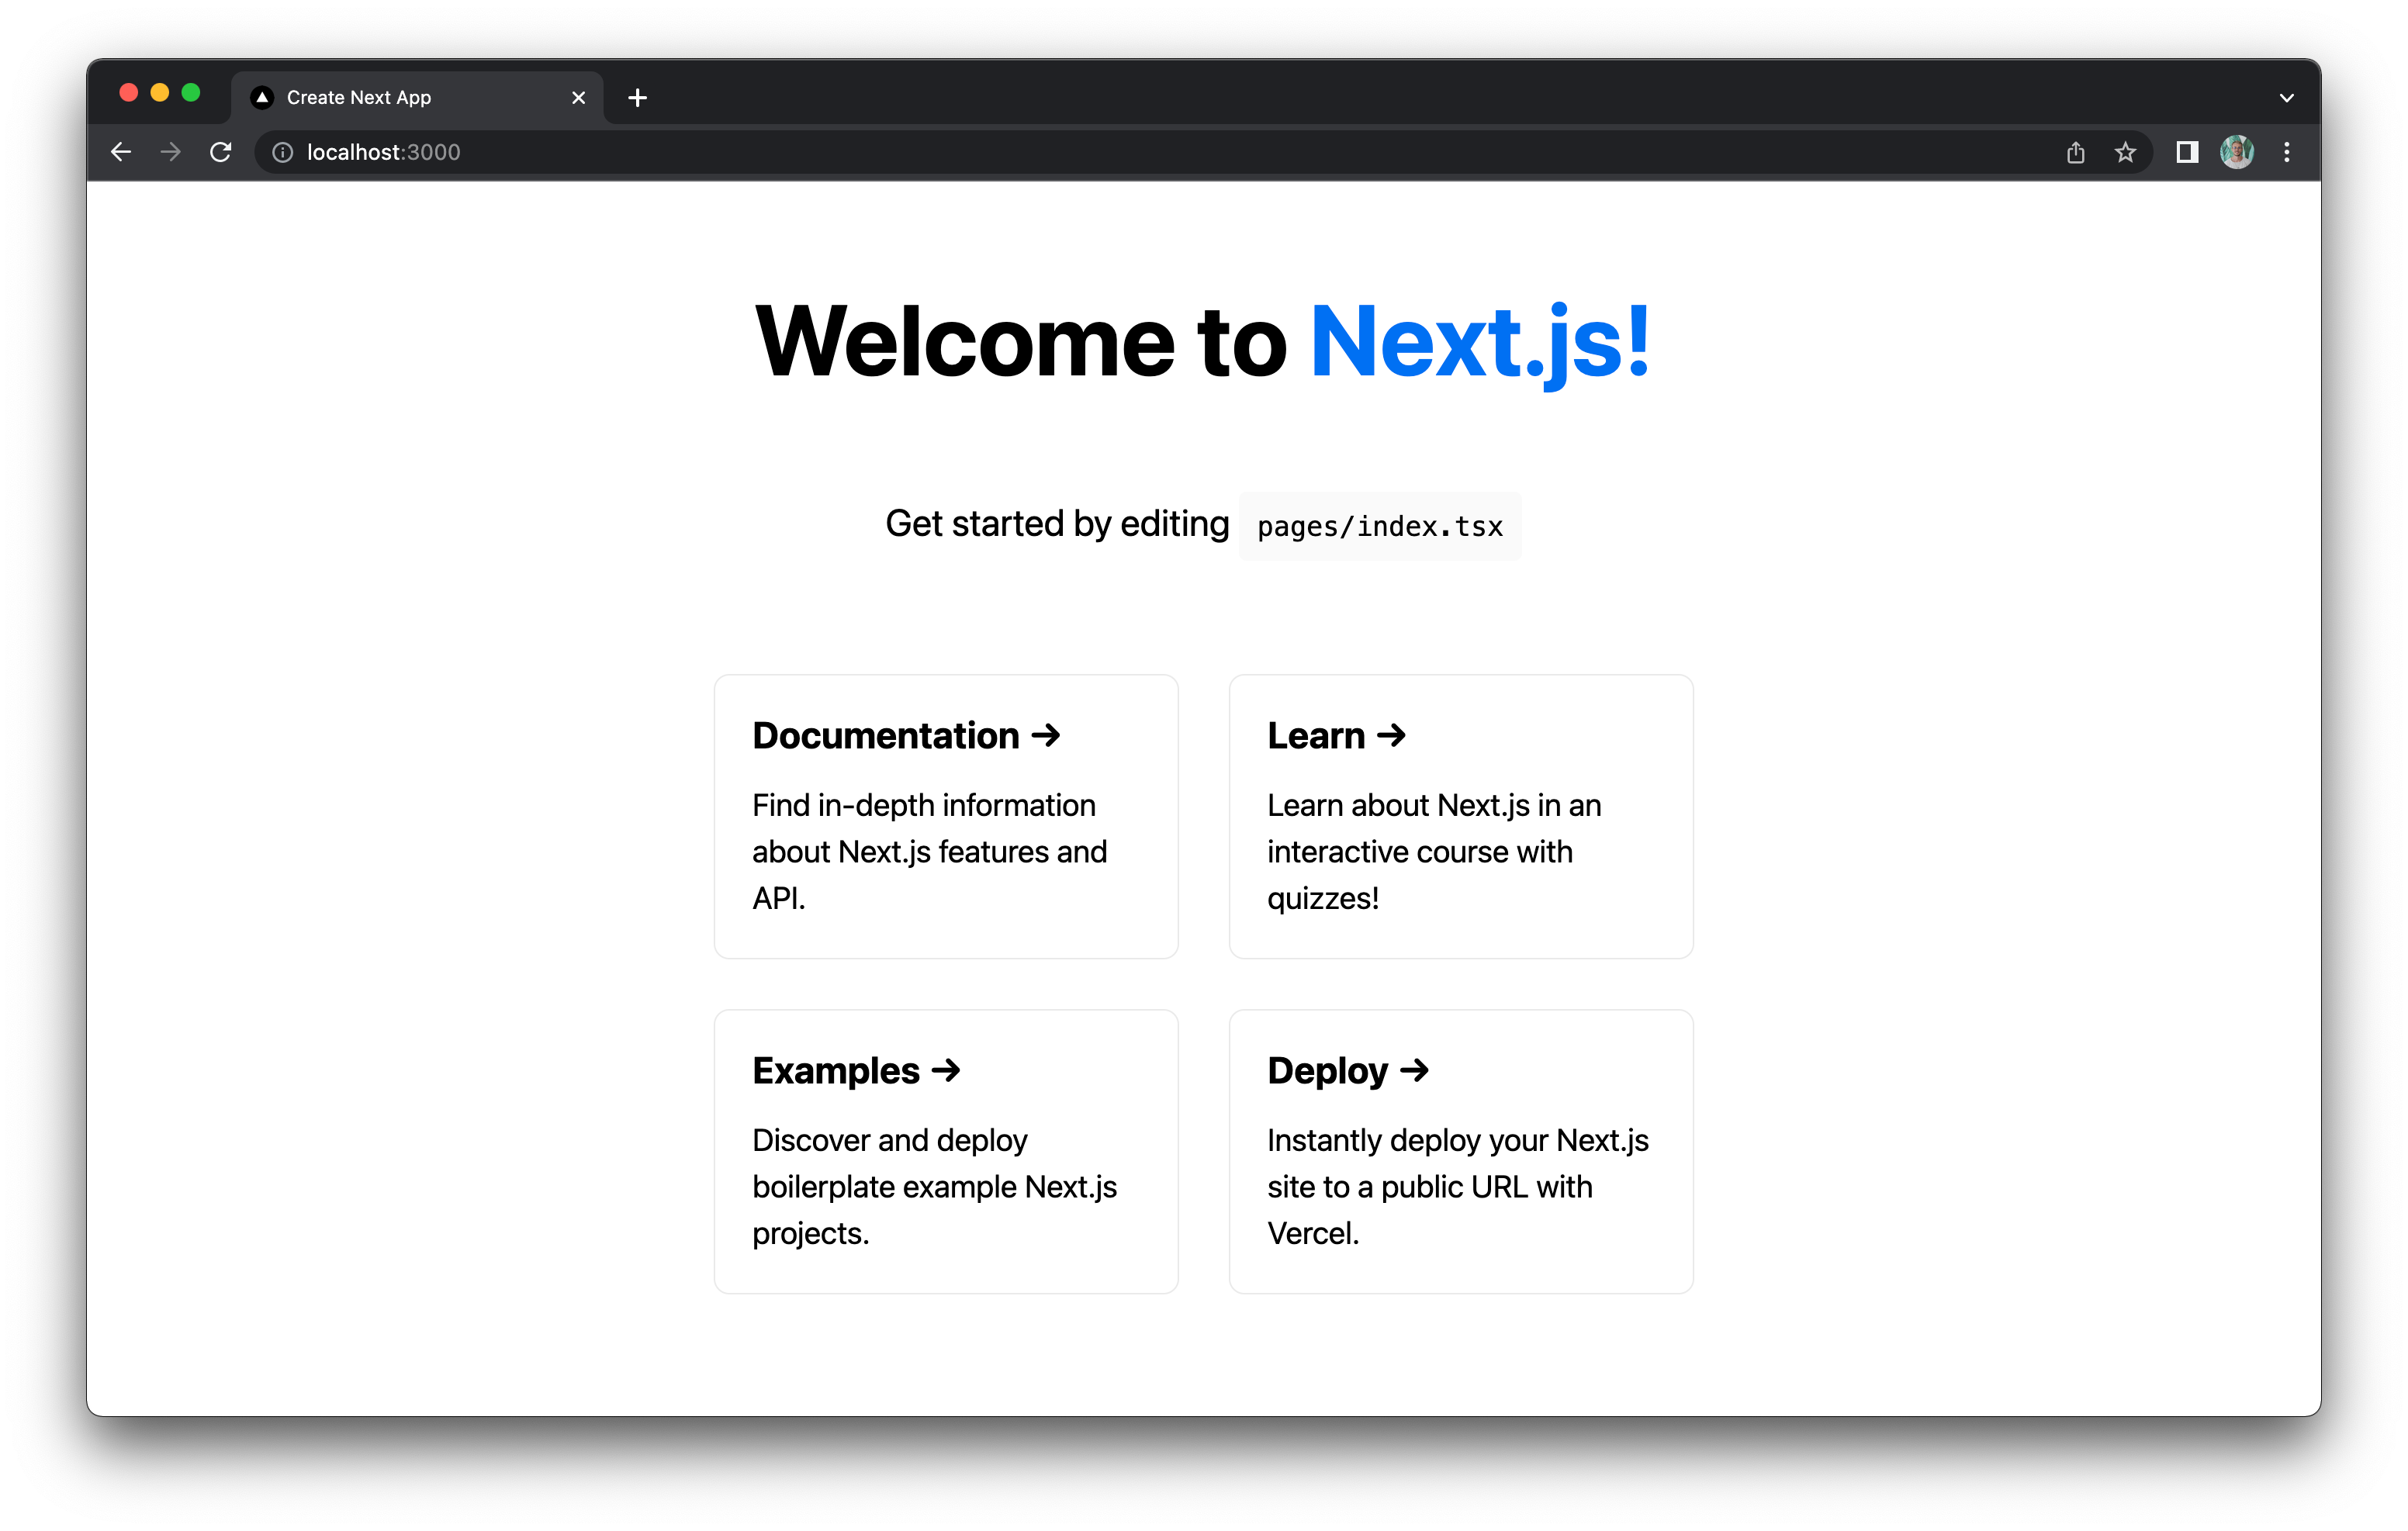
Once completed, open your new Next.js application in your favorite IDE and run it:

bash

Next.js new application

2. Get the required packages

To complete this tutorial, we’ll need two api.video packages πŸ› οΈ

  • NodeJS client package: to access the API with ease
  • React upload button: to upload our videos

From your application root, run this command:

bash

3. Create a .env.development file

Create a .env.development file at the root of your application and store two environment variables in it:

  • The Next.js public API host: to access the implemented Node.js API from Next
  • Your API key value: to instantiate the Node.js client from api.video

json

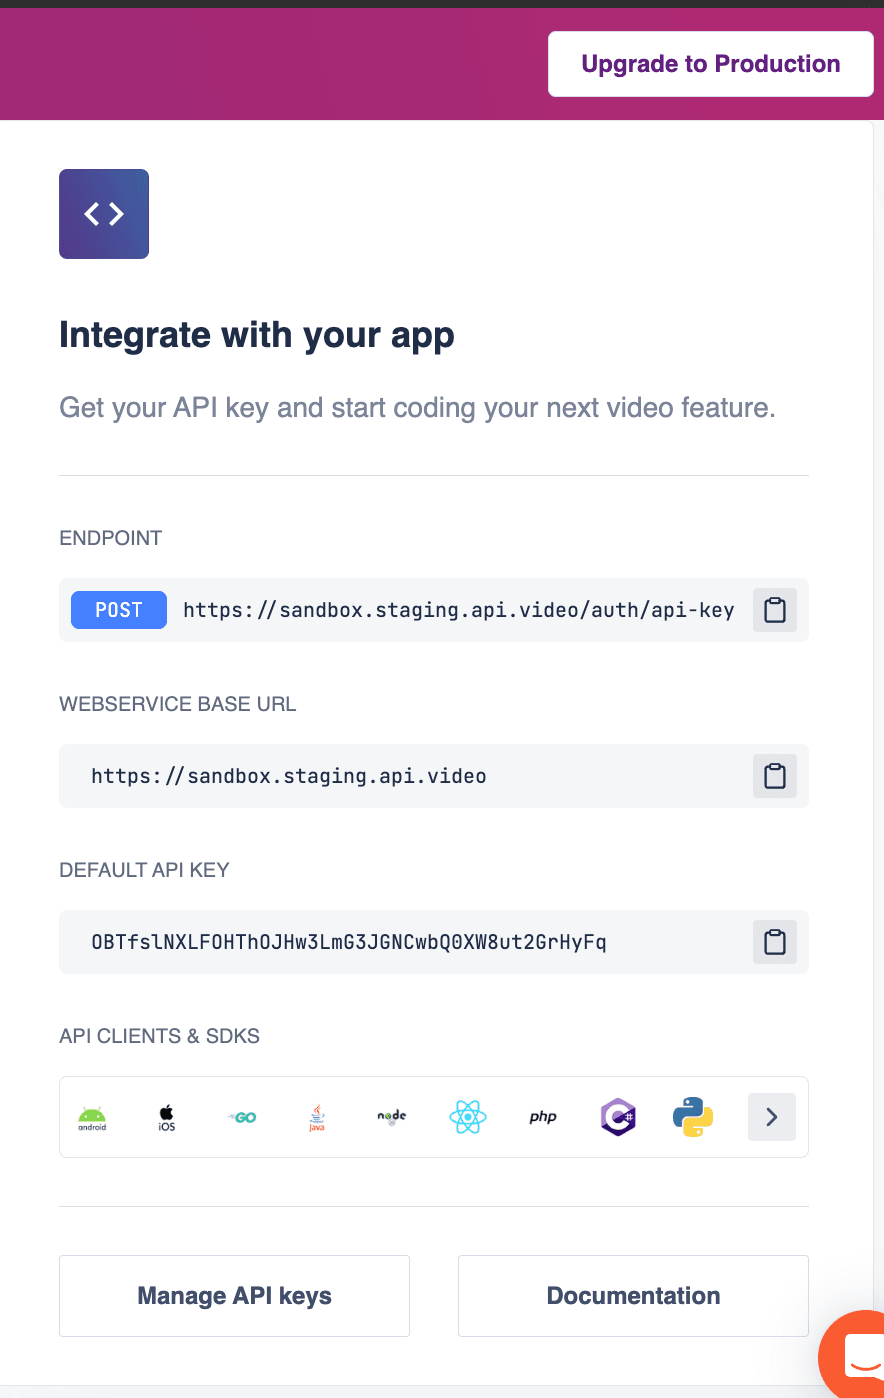
You can find your API key on the right hand column of your dashboard 'Overview' page.

Copy your API key through the dashboard
Copy your API key through the dashboard

⚠️ You need to restart your application each time you’ve made changes in your .env.development. Otherwise, you cannot access new environment values.

4. Create your API endpoint

In this part, we want to create one API endpoint that allows us to make two actions:

  • Retrieve our upload tokens list
  • Create one if needed

To do this, we will differentiate the calls to this endpoint by HTTP methods:

  • GET to retrieve our upload tokens list
  • POST to create one upload token

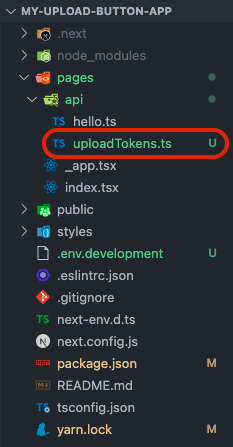
Create a new file under the /pages/api directory in your application and name it uploadTokens.ts

Application project tree

Retrieve your upload tokens list

In your brand new uploadTokens.ts file, create your endpoint and the method to retrieve your upload tokens list. Copy and paste the code below:

javascript

Find the official documentation for the upload tokens list method here.

Create a new upload token

We may need to generate a new upload token if we don’t have any available. Add the creation method in your uploadTokens.ts file:

javascript

Find the official documentation for the upload token createToken method here.

5. Call your API

Now we can retrieve our upload tokens list and generate a new one on demand. We’ll see how to make it happens from the front end.

Let’s clean our Home component 🧹 Go to your pages/index.tsx file and modify it:

javascript

Now our app is nice and clean, let’s implement our logic in 2 steps:

  • We want to check if we have any available upload tokens from our upload tokens list.
  • If we do not have any upload token, we want to create one.

Set your upload token

Create a new method that calls your API endpoint uploadTokens to retrieve your list, and create one if the list is empty. You should call it in a useEffect inside your Home component:

Call the method in a useEffect inside your Home component:

javascript

6. Click. It’s magic! 🧚

Already? 😱

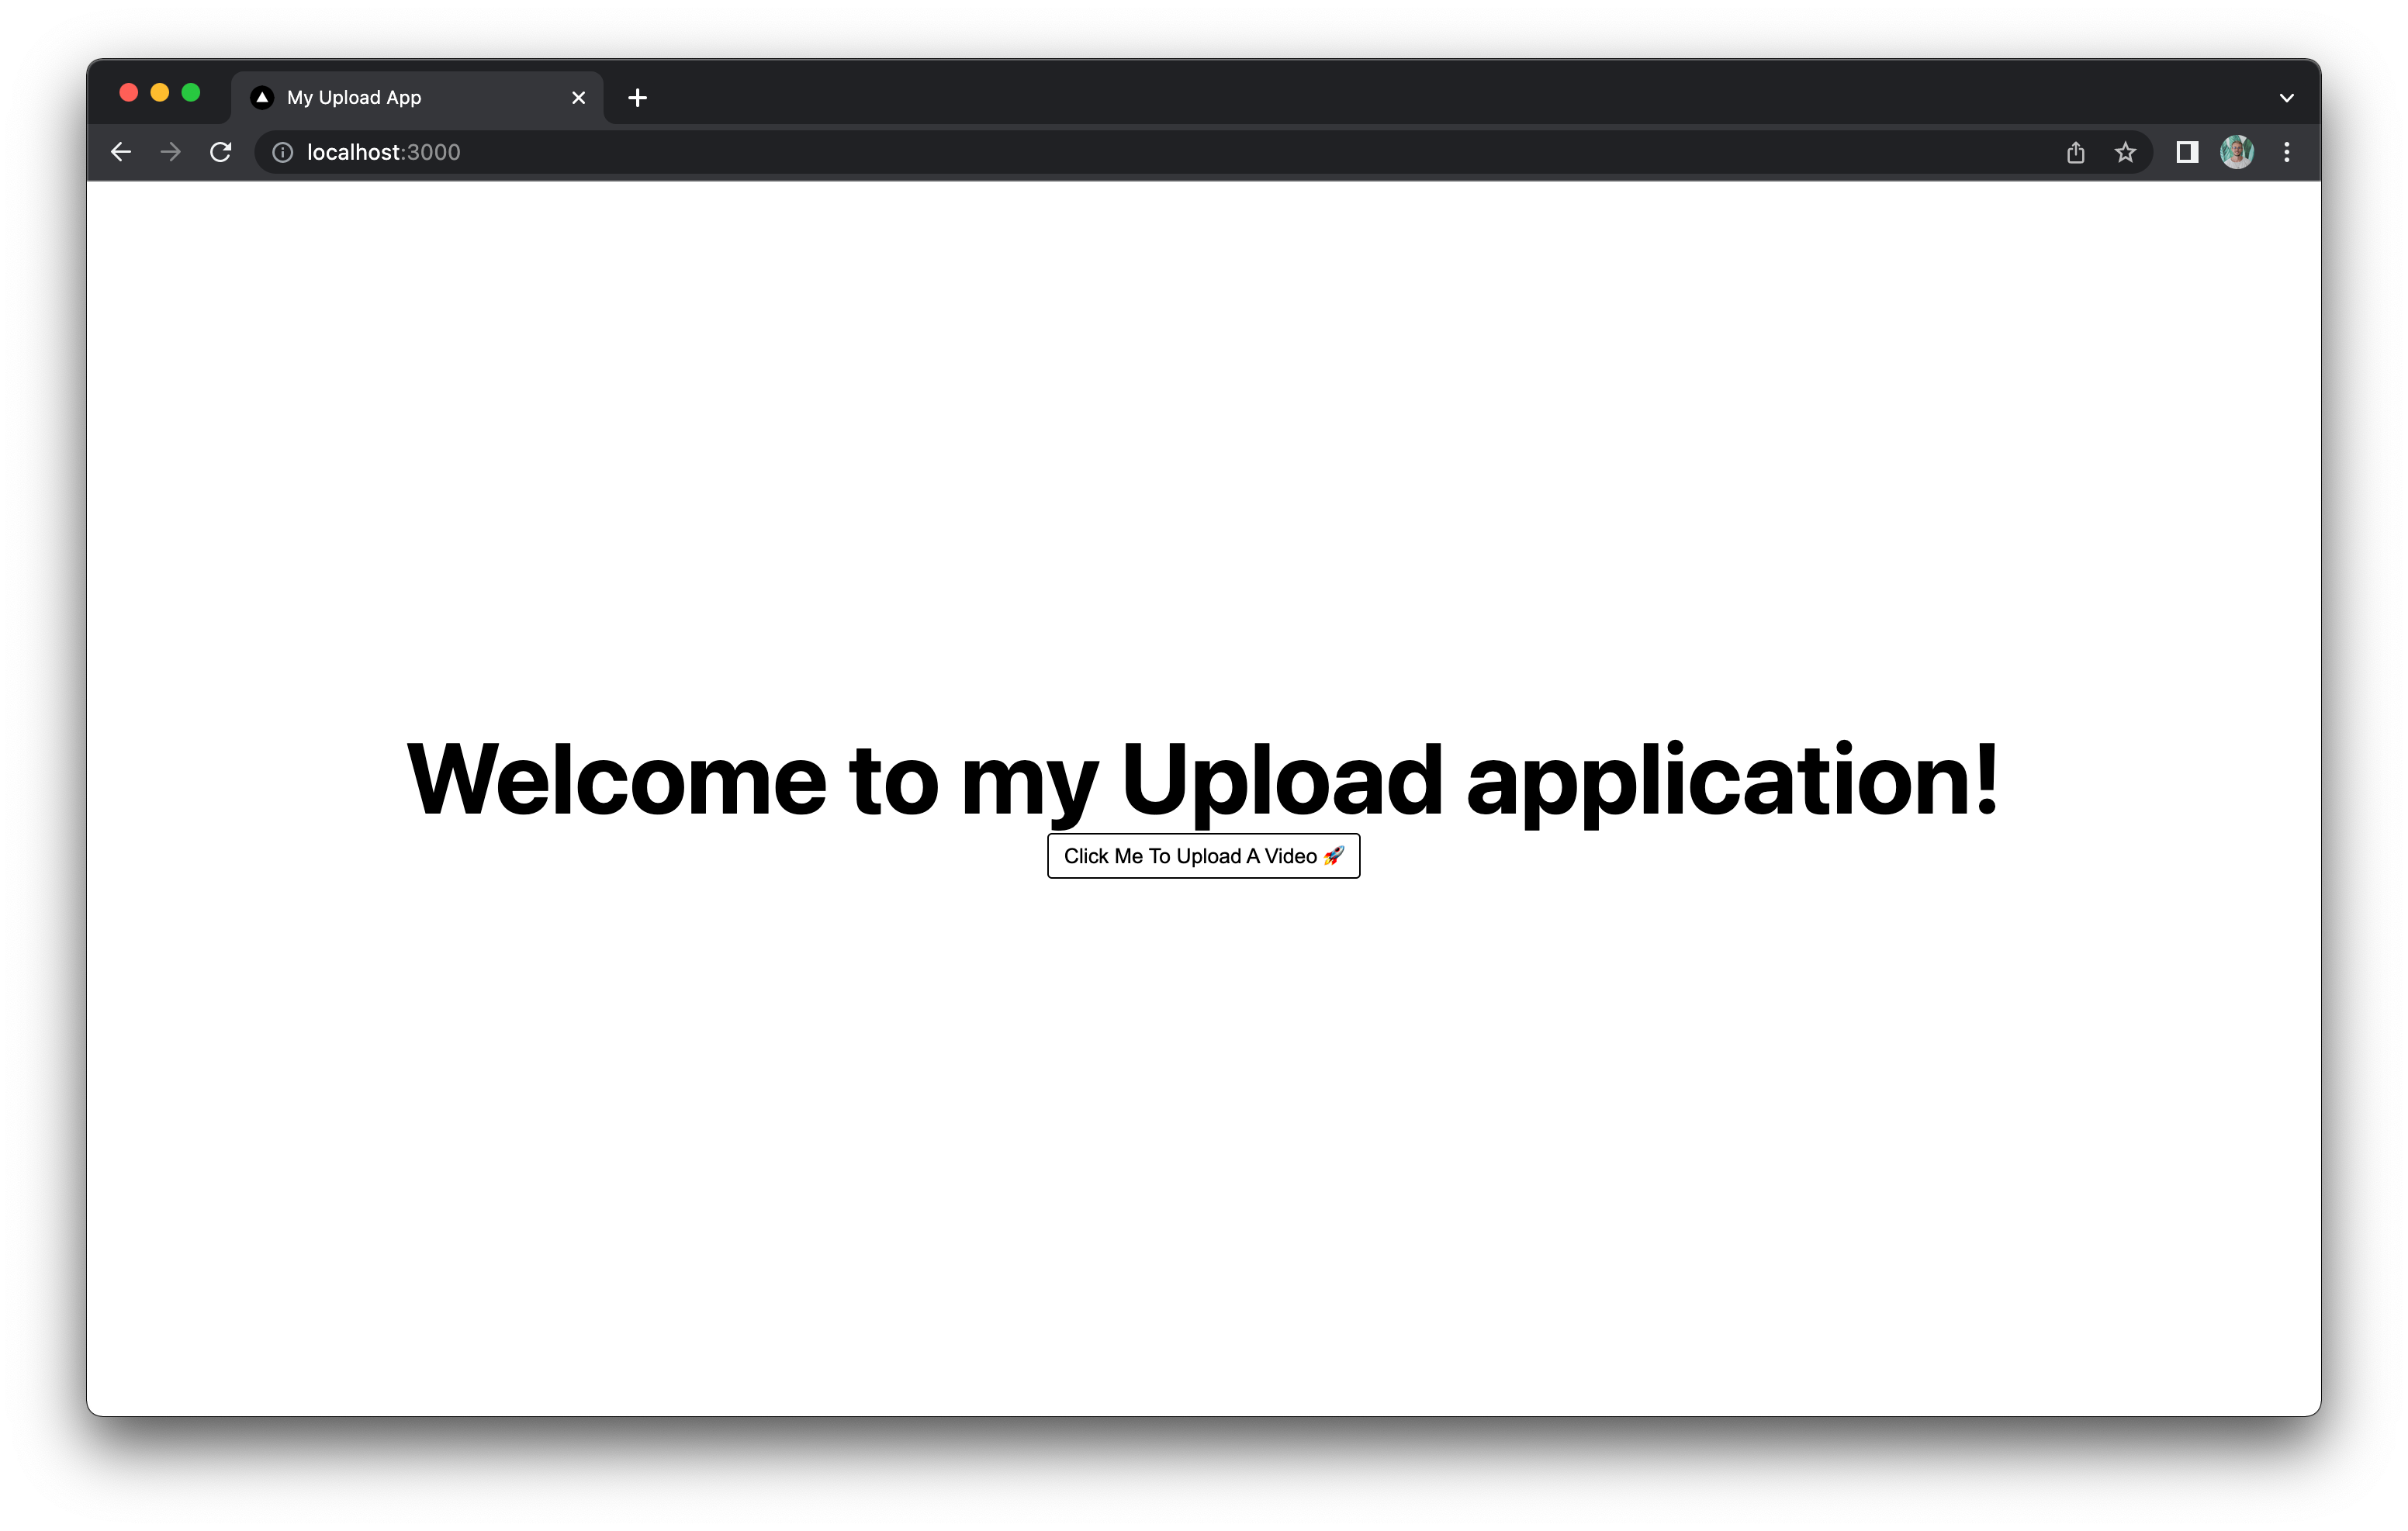
Everything should work well now. Click on the displayed button in your application and choose a file to upload to your api.video workspace.

The upload application

7. Customize your upload button πŸ’…

You can customize multiple things to make your upload button unique:

  • CSS: make it looks the way you want
  • Progress event: trigger a callback on upload progress
  • Success event: trigger a callback on upload success
  • Error event: trigger a callback on upload error

Check our complete list of examples for inspiration 🧘

Try out more than 80 features for free

Access all the features for as long as you need.
No commitment or credit card required

Video API, simplified

Fully customizable API to manage everything video. From encoding to delivery, in minutes.

Built for Speed

The fastest video encoding platform. Serve your users globally with 140+ points of presence.Β 

Let end-users upload videos

Finally, an API that allows your end-users to upload videos and start live streams in a few clicks.

Affordable

Volume discounts and usage-based pricing to ensure you don’t exceed your budget.