Tutorials · 6 min read
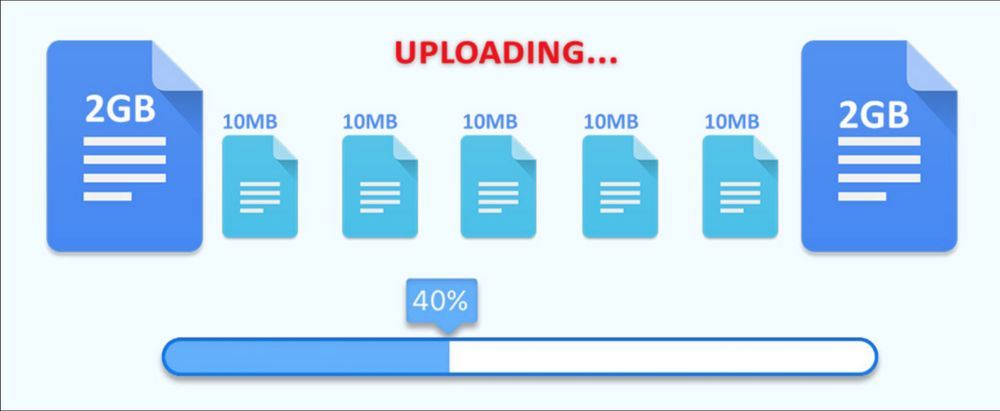
Uploading progress bar

Delegated uploads for videos large and small

With delegated uploads, you can protect your API key and authentication tokens. Instead, you can authenticate with a delegated token where you can control how long it lasts and delete it if you no longer need it. This tutorial goes over everything you'll need to start trying delegated uploads!

Erikka Innes

February 12, 2021

api.video offers delegated uploads! For uploading video, this means you can create an authorization token, and choose how long your authorization token lasts, anywhere from a few seconds (this might be a bit extreme) to forever. The value in using a delegated upload token is that you don't expose your api key, authorization token, or refresh token. All you need is the delegated token you create. You can create tokens for users if you want them to be able to do uploads and you can delete tokens at any time if they are compromised, or no longer needed.

How does a delegated video upload differ from a regular video upload?

Glad you asked! There are a few differences. If you use the regular upload endpoint, you must:

  • Use the authorization token you retrieve with your API key.
  • Create a video container with any details you want to provide about your video.
  • Upload your video into the video container you created.

If you use the delegated video upload endpoint, you must:

  • Create a delegated token for use with the delegated upload endpoint.
  • Upload your video - api.video creates the container for you. You don't provide more detail than the file title.

You can use the delegated token for as many uploads as you like, or delete the token if you don't need it any longer. You can add details about your video later using the update a video endpoint.

The Authorization Flow for Delegated Uploads

You use your api key to authenticate and get a token. Then, you use your token to request a delegated token. The delegated token may be used for uploads through the delegated upload endpoint only. What's great about it, is if you want you can create and give this token to someone else to make uploads with. You can give the delegated token an expiry time, or let it last forever. Don't worry, you can also delete tokens if one of then is compromised, or if you don't need it any longer.

What's in this tutorial

We'll go over a code sample for:

  • Uploading a Video Under 200 MiB with a Delegated Token
  • Uploading a Video 200 MiB or greater with a Delegated Token

Delegated upload for video under 200 MiB

Upload
If you have a video under 200 MiB, upload is fairly straightforward. Here's the code sample:

python

Walkthrough - Delegated Upload for a Video Under 200 MiB

The start of this you're probably familiar with by now if you've tried the other tutorials. You're going to add the requests library, grab your API key (you can use sandbox or production, the difference being that for sandbox all video will be watermarked), and authenticate so you can get a token.

python

Retrieve a delegated token for video upload

Use your access token to set up the bearer auth header you'll need to retrieve a delegated token. For the body of your request, you need to add a value for the ttl field. TTL stands for time-to-live. In this walkthrough, we are setting ttl equal to 0, which means the token will last forever. You can set the token to other lengths of time in seconds.

After you've set the payload, send your request, then retrieve the delegated token from the response. Armed with your shiny new token, you're ready to upload your video!

python

Upload your video that's under 200 MiB

To upload with the token, you need to send with the application/vnd.api.video+json header. Then the token is sent as a query field. The payload will be your video file, opened in binary. The title of your uploaded file will be the same name as the title of the file you send.

python

Delegated upload for video 200 MiB and bigger

This section shows you how to complete a chunked video upload. Because some of the code is the same as what was in the walkthrough directly preceding this one, we'll post the code sample, then focus in on what's different.

python

After you get your delegated token, there are a few differences in the code to be aware of. Our read_in_chunks function stays the same, but for the upload function, notice that we set a videoId variable. This is because we are going to need to retrieve the videoId.

python

Because api.video creates the video container for you on a delegated upload, you don't know what videoId you're uploading to. This is fine if you're uploading a complete video, but if you're sending your video in chunks, you need to tell the server what video container you want to send the chunks to. When you send your first upload request for a chunked video, include the Content-Range header (the only header you'll need) and then retrieve the response from your request.

Get the videoId from the response, and in subsequent requests, you include the videoId. Like so:

python

As you can see here, we use a few different tools from the requests library to make the subsequent requests. Your token for authenticating is a query parameter. The videoId goes in the body of your request. And you attach your file chunk as a file.

If you change the name of the file in your requests (the spot where it says "file name here") then your file will be named to match that. Use the same title in both places for "file name here" in the code. The file you open for upload won't be referenced, because in a chunked upload, the request doesn't get the name of the file, it just has a chunk of the file attached each time. So it's a little different than a regular upload.

There's only one step left for your chunked upload, and that's to use the function:

python

Ta-da! You've done it! You've uploaded a video or a chunked video... or at least read all about it. In future posts, we'll go over how to manage your tokens.

Posts you may also like...

Try out more than 80 features for free

Access all the features for as long as you need.
No commitment or credit card required

Video API, simplified

Fully customizable API to manage everything video. From encoding to delivery, in minutes.

Built for Speed

The fastest video encoding platform. Serve your users globally with 140+ points of presence. 

Let end-users upload videos

Finally, an API that allows your end-users to upload videos and start live streams in a few clicks.

Affordable

Volume discounts and usage-based pricing to ensure you don’t exceed your budget.