No-code ยท 4 min read

broadcast a zoom meeting, live stream, record a zoom meeting, record a livestream

Start and Record a Live Stream with OBS

Use OBS to set up a live stream and record it, then display it on your own web page. Everything is set up for you on Glitch.

Erikka Innes and Doug Sillars

March 16, 2021
As COVID-19 is forcing more educators to teaching remotely, and more organisations are cancelling in-person meetings, video conferencing is becoming more important than ever.

With entire countries under lockdown or quarantine, tools like Zoom, Skype, Hangouts and others are seeing high usage. However, these tools can have high bandwidth requirements. Zoom recommends 800 KBPS up and 1 MBPS down for group conferencing

But, what about students who do not have fast internet at home? Advice like "Go to the library" just doesn't work during a pandemic. How can the video be served at a lower bitrate for these users?

broadcast a zoom meeting, live stream, record a zoom meeting, record a livestream

Live Transcoded Streams

For streamers (professors, teachers, colleagues), there are settings that will push the video to live transcoding engines. In this example, we'll use api.video to transcode the video to a lower bitrate.

Saving Videos for Later Playback

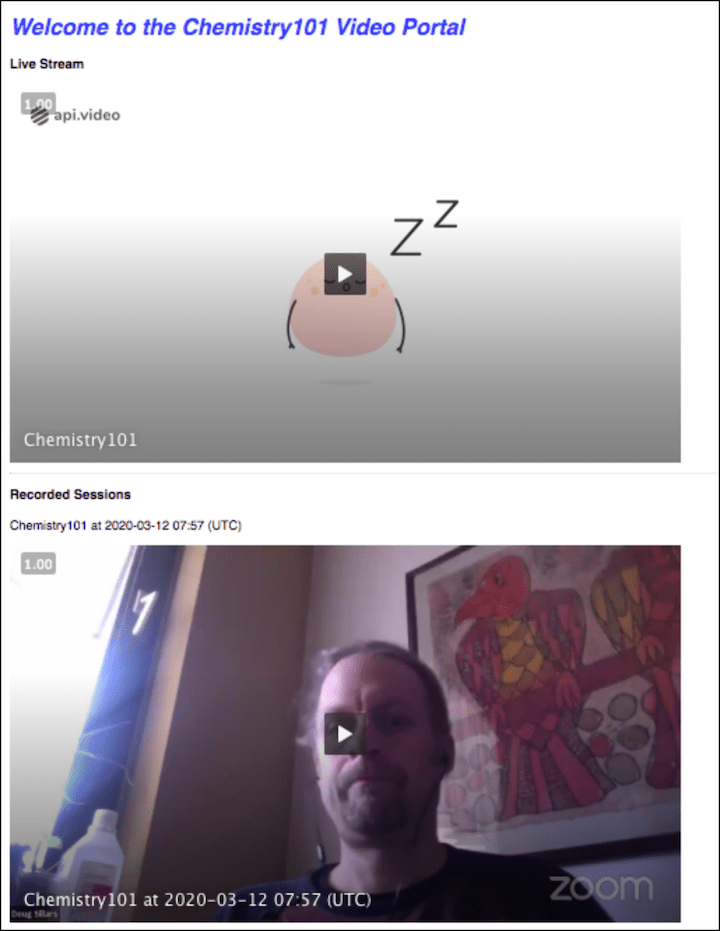
If you are streaming the videos, wouldn't it be great to also aggregate these videos into a portal for your students to later review? Zoom allows you to record your videos, and provides you a URL, but then you have to create the portal. What if we could create the portal from the Live Stream?

Simple Setup

As we walk through this process, you'll see that this is an easy setup that anyone can use to share their live video streams.

Getting Started

To begin, go to api.video and create a free account. Once you sign up, you'll see a list of keys. You'll need your production key in a few steps, so make a note of it now (or leave the dashboard open so you can come back and look).

The code for this project is hosted at Glitch. All Glitch apps get a silly subdomain (in this case "twilight-decorous-mail").

Update 2021

The code is also pn Github: https://github.com/dougsillars/watchLivestream You can also see an updated version at: watch.a.video/livestream

  1. On the Glitch page, click View Source.
  2. Click the button Remix to Edit. You'll have your own version (with silly name).
  3. On the left menu are all the files that create the website. Click on the .env line (there is a key next to it). This file will open in the middle. On lines 8, and 10 are three variables: imageUrl, apiVideo and PORT. There is no value after the equals sign. For imageUrl, add a url pointing to your logo. For apiVideo, paste in the production key from when you signed in. For PORT enter 3000.

That's it - you just configured your website. Now to add your content:

  1. At the top, click the sunglasses, and open the project in a new page. You'll see a mostly empty site. We haven't configured it yet.
  2. In the url bar, after the https:-silly-.glitch.com add /createClass to the end and press Enter. You'll get a page about creating a class.
  3. On this page, you can enter your class name, and also whether you want to record all sessions for later viewing. Press Enter, and you'll get some more important information: your StreamKey and the URL of your site with a URL parameter afterwards. Make a note of these as you'll need them for the next set of instructions.

Now we are ready to stream with OBS!!

OBS is a free application available on Mac/Windows/Linux.

  1. Download and install on your computer.
  2. Set a Source. You must set the source - Video Capture Device, and choose the camera your computer.
  3. Under Settings -> Stream. a. Pick Service -> Custom.
  4. Enter the following parameters: b. Server: rtmp://broadcast.api.video/s c. Stream Key: enter the StreamKey Value you obtained from creating your class.
  5. Click Start streaming.

The live stream is available on your portal! When you stop streaming, the video will be placed below the line into the recorded video list.

api.video transcodes your video to much smaller sizes and bitrates. Even if you are sharing a 4K video, your customers or students on very slow connections will still be able to watch on a 250 kbps 240p, or 500 kbps 360p video. Sure, it won't be beautiful, but hey can participate. And to top it all off, all the video sare saved in a conveient portal for later viewing.

You May Also Like

Article reposted from Glitch by Erikka Innes

Try out more than 80 features for free

Access all the features for as long as you need.
No commitment or credit card required

Video API, simplified

Fully customizable API to manage everything video. From encoding to delivery, in minutes.

Built for Speed

The fastest video encoding platform. Serve your users globally with 140+ points of presence.ย 

Let end-users upload videos

Finally, an API that allows your end-users to upload videos and start live streams in a few clicks.

Affordable

Volume discounts and usage-based pricing to ensure you donโ€™t exceed your budget.