Tutorials · 8 min read
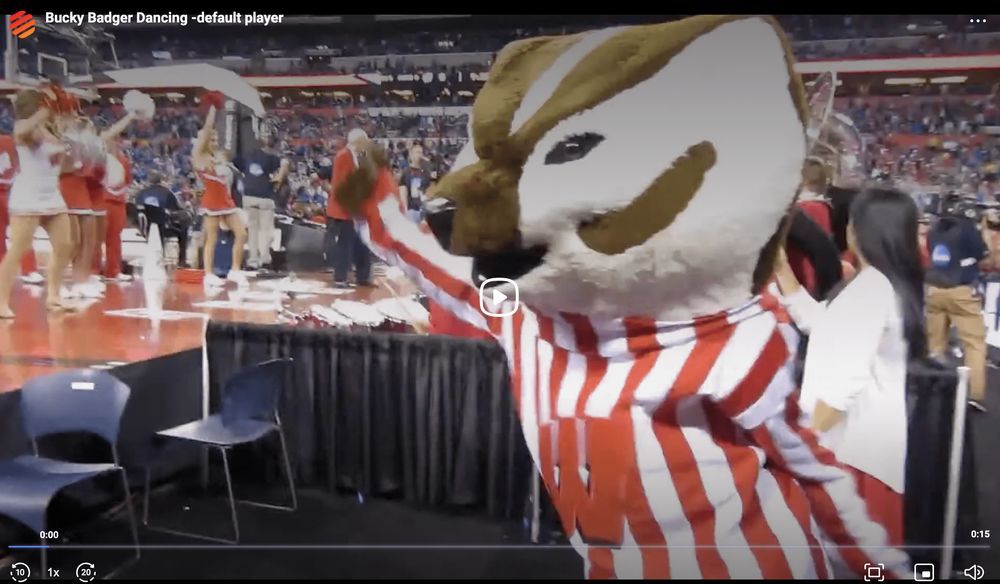
api.video player screenshot

Tutorial: video player customisation

api.video, in addition to fast video encoding, streaming and storage, has a fully customisable player that allows you to have greater control over how your video is presented. In this post, we'll go through all of the possible customisations for the player.

Doug Sillars

August 28, 2020

Your company’s brand is unique. Shouldn’t the video player that you use your branding & your colour scheme… not the YouTube/Google corporate colour scheme?

api.video player

api.video, in addition to fast video encoding, streaming and storage, has a fully customisable player that allows you to have greater control over how your video is presented. By default, here’s what it looks like:

This is a video of Bucky Badger (the mascot for the University of Wisconsin-Madison) dancing at a basketball game. (On Wisconsin!)

Sports teams are highly identifiable by their colors - fans wear scarves, shirts in “their” teams colours to show their support.

The colors for the Wisconsin Badgers are Badger (Cardinal Red) and White. A close look at the screenshot above shows that the api.video logo (while awesome) is closer to the colours of the University of Minnesota (and we just can't Gopher that!). The play button is blue, and while unlikely to be mistaken for the dark blue of Penn State or (shudder) the University of Michigan, it certainly does not match the Badger color scheme. Let’s dive in and learn how to build a custom player with api.video that uses the University of Wisconsin color scheme.

Create a New Player

The first step in creating your new player is, well, to create a new player. You’ll need your api key from the api.video dashboard. Use this to authenticate your account, and receive an access token that will be good for an hour.

json

To create a player, we’ll use the create player endpoint. A quick scan of the API shows that you can pretty much customise the player completely on creation, but we’ll go one step at a time to show the differences each change incurs.

To create the default player, we’ll use the API and use no parameters in the JSON (make sure you replace {accessToken} with the token you received in the last step):

json

To which we will receive a response that resembles:

json

Hooray! We’ve created a player (ptSQlESqn5KIn9tGxlA88Q1) that we can now customise. Before we begin customising the player, we must associate it with a video to see it. Using the Update Video endpoint, and the videoId (vi3666MejLyqtJOOHFIwGCA9) for the Bucky Badger video, we will change the playerId parameter to our new player:

javascript

The response JSON (not shown) for the video shows that the new playerId is now present in the response, indicating that the change was successful. Now we can begin walking through the various customisations that are possible with the player, and see them with this video.

Assets

There are 2 API endpoints to edit a player. The Upload Logo endpoint is specifically for changing the logo on the player. It requires 2 parameters, an image file (JPG or PNG, 100x200 pixels max) and a url. When the icon in the player is clicked, a new tab will open the url. For example: the default api.video player features the api.video logo, that, when clicked, takes the user to the api.video homepage.

icon and title

Our new player has no asset (logo and link are null in the JSON), and therefore no icon to click on:

title no icon

Let’s go ahead and add an icon to this player.. In this case, we’ll use the official University of WIsconsin “motion W” logo, downloaded from Wikipedia. For the url, we’ll point to Bucky’s Twitter account (https://twitter.com/uwbuckybadger)

javascript

I am using the multipart/form-data mimetype, which allows me to update a text form field (link=https://twitter.com/uwbuckybadger ), and also upload a file (in this case the motionW.png image in my downloads folder). Now my video features the official icon of the university, and when clicked, opens Bucky’s Twitter page in a new tab.

uw "w" icon

Update Player

The second endpoint for customizing the player is the Update Player endpoint. We could have made all of these changes on creation, but for the sake of showing examples, we will be making small incremental changes to the player, and investigating the differences.

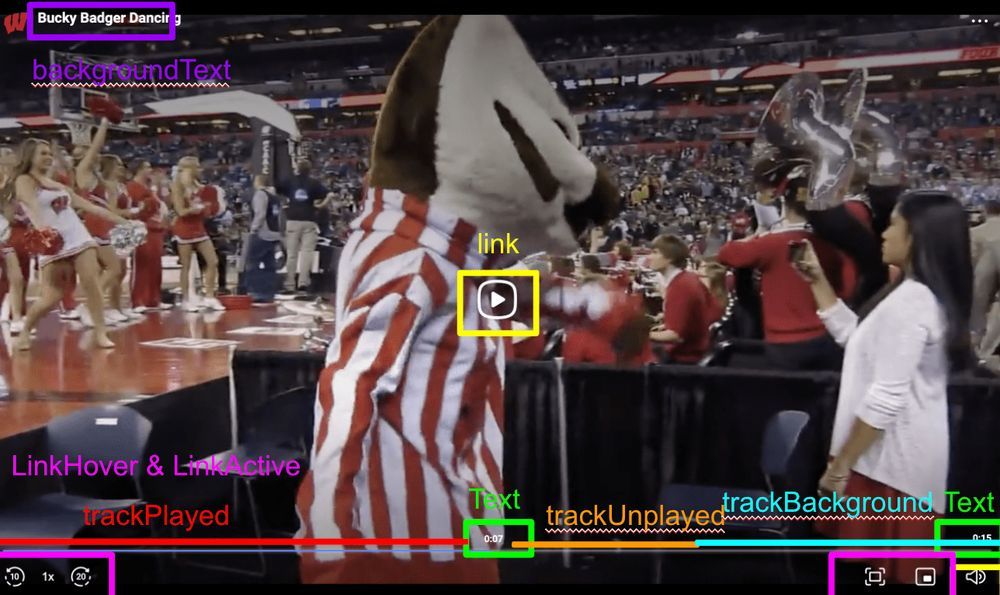
Let’s take a look at which areas we can change in the api.video player:

all the places color can be added in player

Customising player colors

The display parameters we can adjust are named as follows:

  • backgroundText changes the video title.
  • text affects playback timers (total and elapsed time).
  • lineActive & linkHover affect icon colors and hover state color,
  • Playback bar: The colors indicating video playback status can be changed:
  • trackPlayed to the left of the current playback location (video that has been played)
  • trackUnplayed To the right of current playback location, indicating the video downloaded. You can also think of this as the locally buffered video.
  • trackUnplayed To the right of current playback location, indicating the video downloaded. You can also think of this as the locally buffered video.
  • trackBackground: To the right of trackUnplayed: this is where no video is yet downloaded.
  • backgroundTop & backgroundBottom are used to create a gradient effect when the menu is opened.

Let's see how each of these features work!

Text Coloring

The video name attribute is controlled by the backgroundText parameter. The primary UW color is Badger Red, and the branding guide provides a HEX code: #c5050c. Using an online converting tool, this corresponds to rgb(197,5,12). The default alpha is 1, so we’ll add rgba(197,5,12,1) as follows:

javascript

This call results in a success, so we can reopen the video to see if the title in red is easy to read:

red text

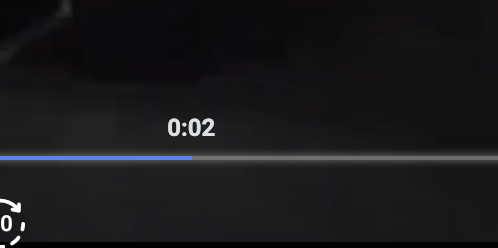
Looks good to me! Using the same red color for the playback times, using the text API parameter is not as successful. The text is hard to read in places, like when the text goes across Bucky’s striped sweater:

red timer

Rather than revert to white, we can use the UW-gray-blue specified in the branding guide: {"text":"rgba(218,223,225,1)"}

white timer

Playback bar

There are 3 statuses that appear in the playback bar:

  • Played: video that has been played (to the left of the current playback location)
  • Buffered: Unplayed, but downloaded - to the right of the current playback locations
  • Not yet downloaded: Appears early in playback - for the end of the video that is not yet downloaded.

The default colors here are blue -> white -> white, and the alpha channel goes from 0.95 -> 0.35 -> 0.2 (unplayed video is more transparent than video that is played).

Let’s keep the same transparency, but use UW-dark-red-> UW-gray-darker -> UW-gray-blue. The data I send is:

javascript

apivideo controls

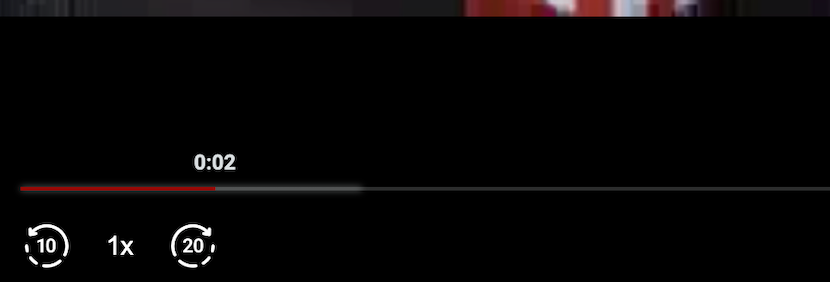
The red ‘played’ color on the left looks great, but it is hard to see the difference between the unplayed and background colors on the right. Using UW -gray blue for both unplayed and returning the alpha channel values to the default values seems like a good compromise with excellent visibility:

controls closeup

Icons

The icons are all white, and probably could remain that way, but because this is a walkthrough of changing all the colors, we’ll change the icons to UW-gray-darker, with a white hover.

json

Background colours

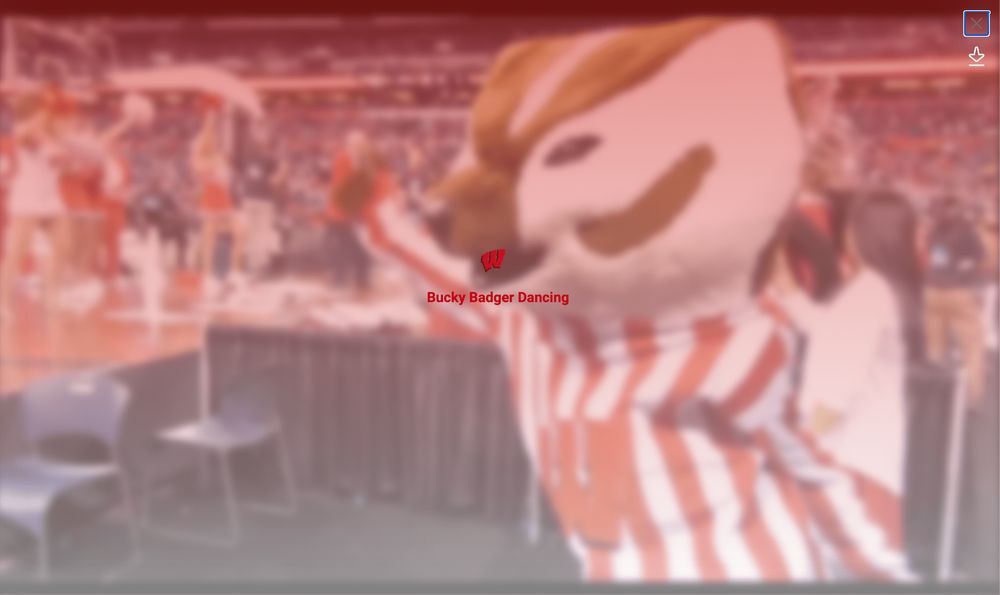
In the upper righthand corner is an icon with three dots. When it is clicked, the video is paused, and placed in the background with a gradiant of colours from top to bottom over the video. These colours are adjusted with the backgroundTop and backgroundBottom parameters.

Since this is the UW Badgers player, we'll use Badger Red to White for the gradient:

json

bacground

Video Playback

The last few API configurable features control the video playback inside the player.

  • enableApi when true, allows the player SDK to control the player.
  • forceAutoplay when true, the video will automatically autoplay. Note that due to browser limitations, the video will be muted when set to autplay.
  • enableControls will hide all the playback controls from the user. This is great if you are using your video as a background on a page, and there is no need to start/stop the video. Note: without controls, the video should be set to autoplay.
  • hideTitle Remove the title and logo from the video.
  • forceLoop For the video on an endless loop.

With these tools, you can simulate an animated gif: hide the controls and the title, force autoplay and looping.

In the case of my UW Badgers video, I'll force autoplay and looping, but also keep the title, controls and API access:

json

Conclusion

Well, we've done it. Here is the final player with all of our edits:

Pretty neat! I was able to upload a video, create a player for my video, and customise it to meet the brand requirements of the organisation.

Try out more than 80 features for free

Access all the features for as long as you need.
No commitment or credit card required

Video API, simplified

Fully customizable API to manage everything video. From encoding to delivery, in minutes.

Built for Speed

The fastest video encoding platform. Serve your users globally with 140+ points of presence. 

Let end-users upload videos

Finally, an API that allows your end-users to upload videos and start live streams in a few clicks.

Affordable

Volume discounts and usage-based pricing to ensure you don’t exceed your budget.